

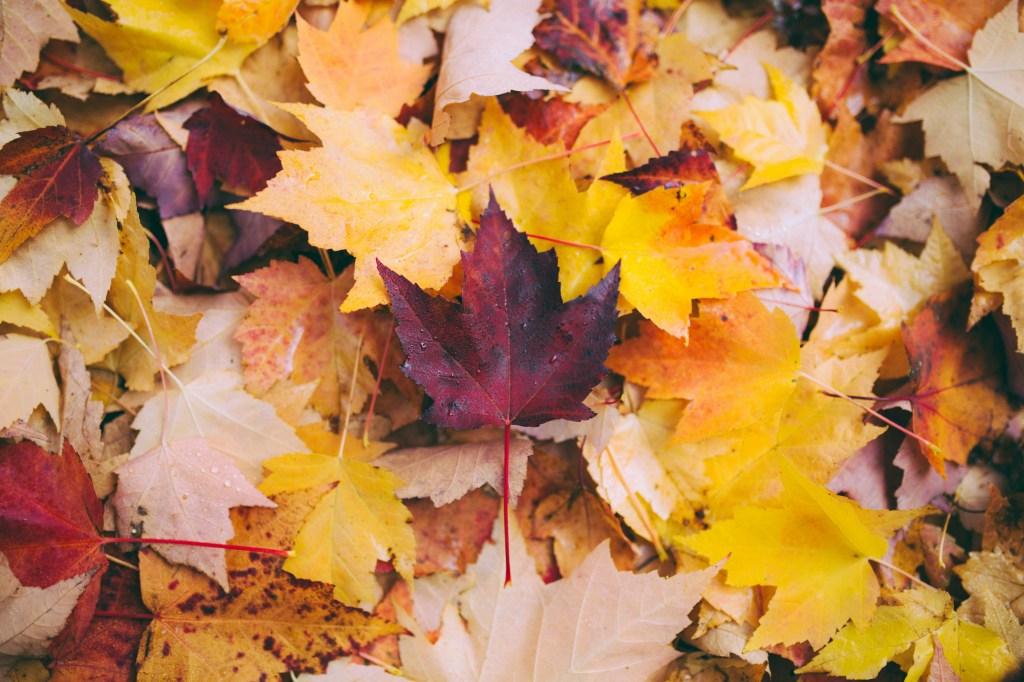
Changing leaves are what I look forward to most at this time of year. In the Pacific North West, the leaves are so bright right now which is such a beautiful contrast against the cloudy skies. One of my favorite things to do with my son this time of year is hunt for leaves and incorporate them into different activities and crafts. Decorating our home feels even more special when it is full of things that we made together. This is a tradition I look forward to doling with him in the years to come. It is an added bonus it is free and sustainable!
Methods for preserving leaves
There are many different ways to preserve leaves, but they all provide different results. Some are better than others depending on your goals and time frame. Some will result in flat and dry leaves and others will result in leaves that will keep more of their color and shape. Some crafts, like those that require gluing leaves, are better with flat and dry leaves. Other crafts like sowing leaves will be better with flexible leaves.
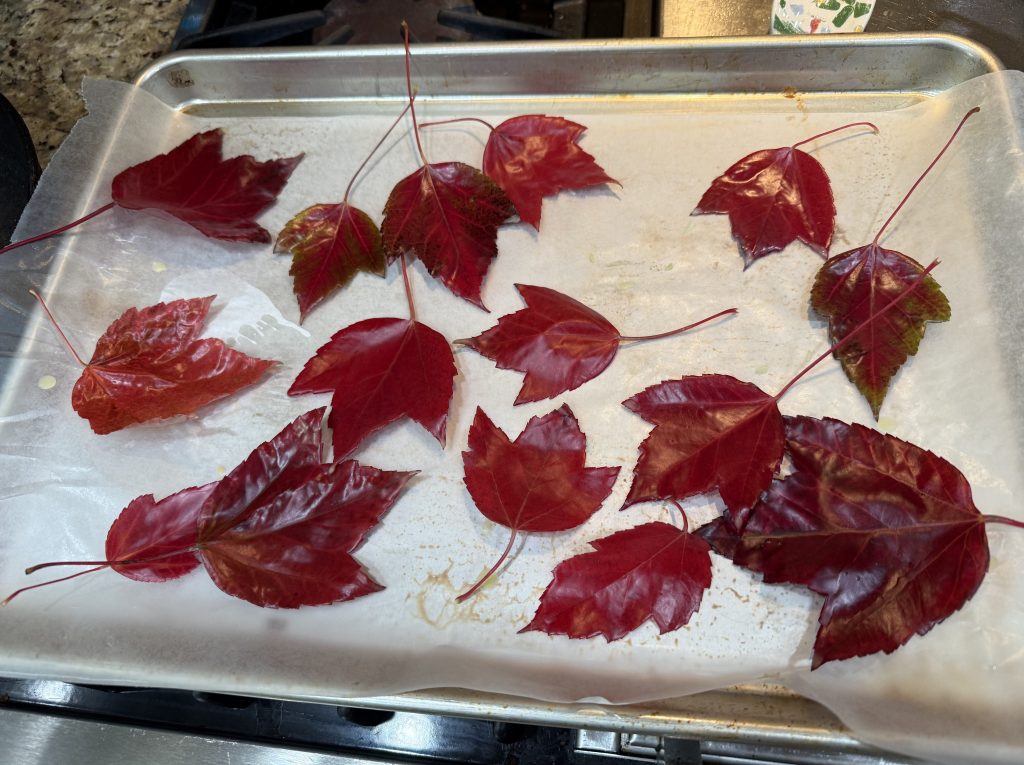
- Dipping in beeswax
- This method is going to keep the leaves flexible and keep the bright colors of the leaf. This makes them great for doing arts and crafts with kids, particularly if you want to put holes in them, or make leaf crowns! You can dip dry leaves in beeswax, but they will be a lot more brittle. On the contrary, make sure that they are not wet, because if you dip them in beeswax and then store them, they will still get moldy.
- Soaking in glycerin
- Soak leaves in a bowl of 1 part glycerin 2 parts warm water for 3-5 days or place a branch with leaves on it in a jar and have the end soaking for a few days. This will allow the leaves to keep their color and texture!
- Ironing onto wax paper
- This dries leaves quickly and keeps their color for a long time! It dries out all of the moisture from the leaves and quickly flattens them, coating them with wax.
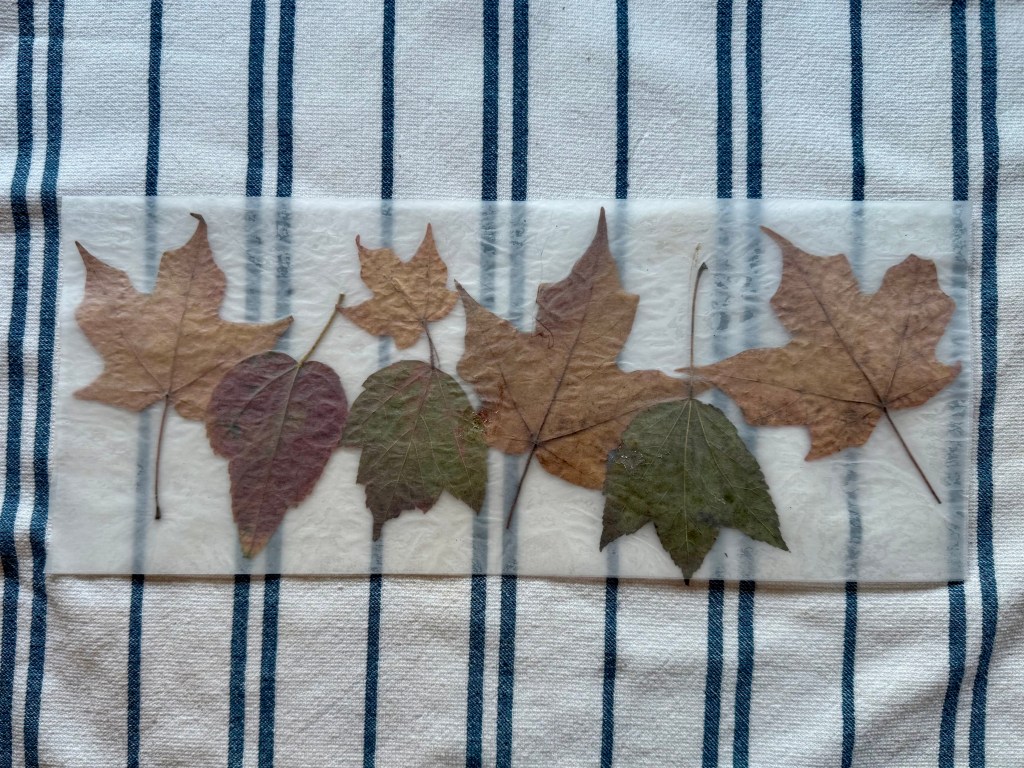
- Take wax paper and fold it in half. Put the leaves inside. Put a towel on top of the wax paper and iron. Peel open the wax paper to take out the leaf or cut the shape around it and you’re done!
- You also have the option to do a bunch of leaves on one paper and leave them in there and hang them in the window, or you can open up the paper to use them individually.
- Ironing onto copy paper
- By ironing a leaf in between a sheet of copy paper, it will help take the moisture out of the leaf quickly. This method is fast just like the other methods listed above, except the leaves will not be sealed inside of something. This is ideal if you wanted to use the individual leaves for a craft and they needed to be dried and flat.
- Most people already have copy paper in their homes so I like that this method doesn’t require any special materials!
- Pressing in books
- This is the longest method because you have to naturally wait for the moisture to leave all of the leaves but it is nice to do them easily in advance. I always find old leaves in my books!
How to beeswax dip leaves
Dipping leaves in beeswax has been my favorite method to preserve leaves recently because I love the results! I like to keep their natural shape because it looks like they just fell off of the tree. It is also a fun process to do with my son! I wanted to provide tips on how to do this since it took me a few years before I decided to try because I was intimidated by it, and honestly once I started it, it was not nearly as hard as I thought! There are ways to be more fancy about it, but if you didn’t want to invest more money in it to start, you can do it in a very cheap way.
My favorite way to beeswax dip leaves without any extra tools is to use a rectangular disposable baking pan to melt the beeswax. I have an old nonstick pan that I fill with boiling water on the stove and I set it to high temperature so it will melt the beeswax fast.
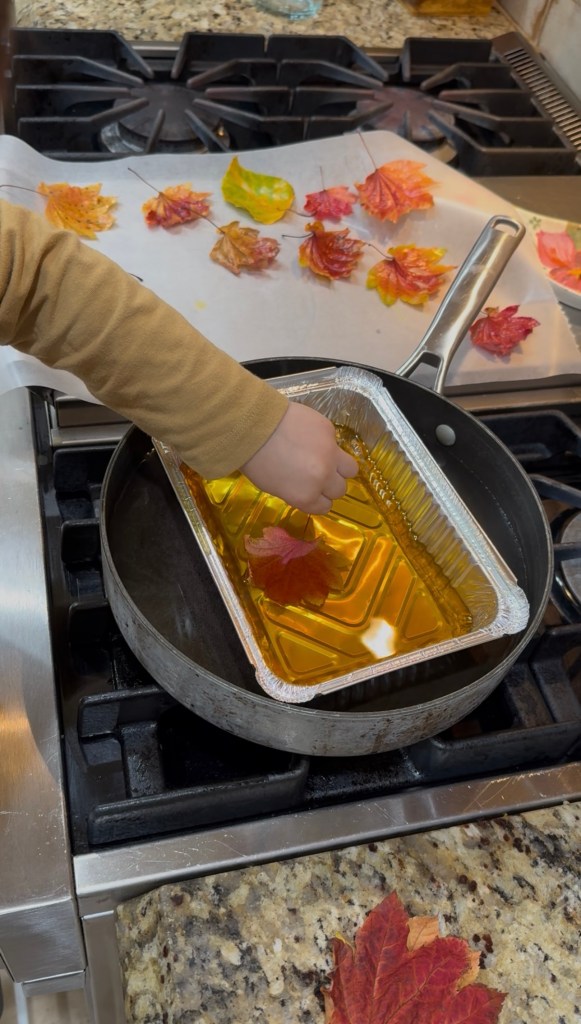
- Boil water in the pan (I use my electric water boiler and then pour it into the pan.) Keep the stove on high.
- Pour the beeswax pellets inside of the baking tray. Make sure that you monitor it so that way the water does not overflow or get inside of the wax. The tray will also begin to tip as the wax melts and one side of it sinks closer to the other side so be careful.
- Once the wax is completely melted, you can put your stove to low, so that way it will keep the wax warm. You don’t want to remove it from the heating source all together because it will start to harden extremely quickly and that will not look good on your leaves. You can also transfer it to a plug in burner if you wanted to work on it at a table with kids. I usually just keep it on the stove on low, and I have my son bring his step stool and dip it from there, reminding him periodically to not touch anything that may be hot.
Tips for melting beeswax
It took a lot of trial and error before we found a method that worked well for us. Below are some things to keep in mind to make your process smoother!
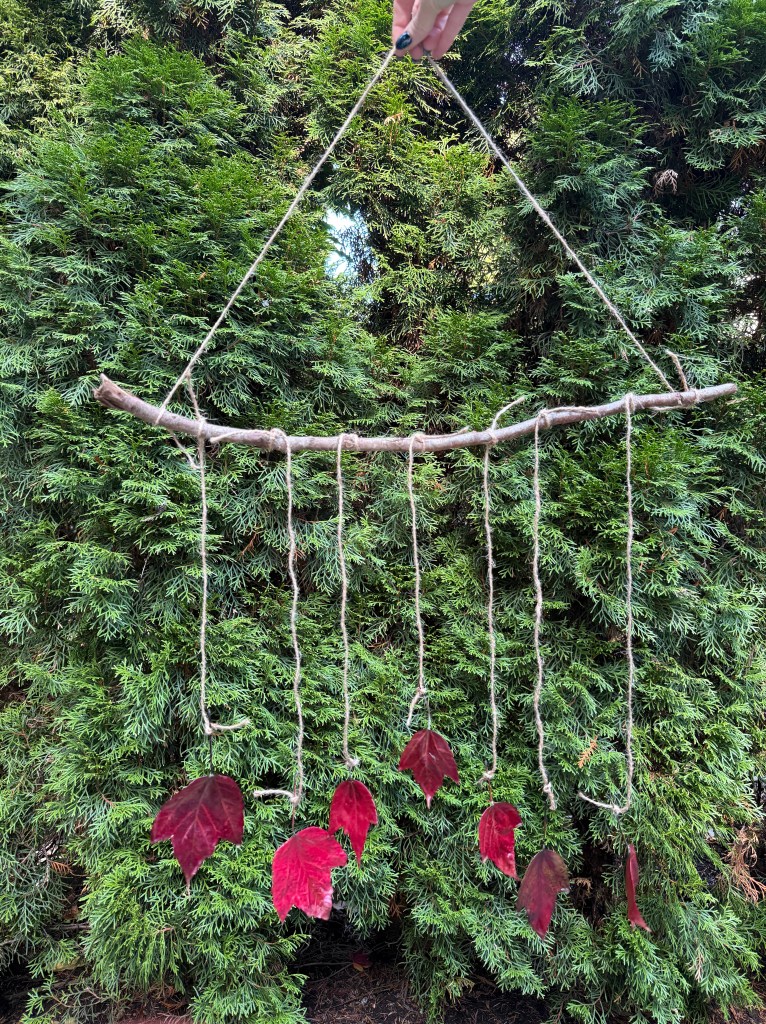
- Instead of a baking tray, you could also use an old can and fill it with wax, but that is trickier because it is more narrow and so it is harder for your child to see where their hand is going and you don’t want them to touch the hot wax. You also have to put more wax to fill it up high enough to dip the leaves. What I like about the tray is that it’s easy to store and because it is wide versus tall, you don’t need as much wax to fill up the bottom and cover the leaf.
- Do not dip the leaf multiple times in the wax or it will get a white cast.
- Use wax pellets instead of bars if you want it to melt faster. I have only ever used wax pellets, but I have heard that it can take an extremely long time for the bars to melt. In my experience, the first time I ever melted the pallets it felt like it took forever too, but it could’ve been the method I used. Every time that I go to melt it now, it does it pretty fast, so I feel like the system that I have works really well! Just don’t plan to have your child standing next to you, waiting for the wax to melt because they will lose patience. I just check on it periodically as I’m doing something in the kitchen nearby.
- As for cleanup, make sure that you do not melt be wax in any containers that you care about because it is extremely hard to get off. I usually put a sheet of wax paper next to the pan and that is what I put the leaves on. I also make sure that the pan that I use to boil the water is one that I don’t care about very much because as you dip the leaf into the disposable tray, sometimes wax drips inside of the pan.
- The leaves dry extremely fast so I just lay them out on the wax paper and then as it gets full, I stack them up and then do another layer.
- As for timing of when to do the leaves, doing them the same day is best but the following day will still be okay. It is up to you if you want to press them in advance. I like the natural shape and when it is not brittle. If you have fresh leaves but want them flat, you also have the choice of dipping them the day of, and then after you dip them in the wax, if you still want that flat shape without getting the brittle issue of pressing them in advance, you can put a sheet of wax paper on top of the leaves when they are just dipped. Then you can put something heavy on top like a book so that way they are flat, but still flexible.
Summary
Choose the method of leaf preserving that works best based on the craft you would like to do. Experiment with fresh versus dried leaves to see your favorite end results! My favorite are fresh leaves that are dipped in beeswax so they maintain their color and flexibility, but I also like to have flat dried leaves for any 2D activities that require gluing. Preserving leaves can be a fun activity to do with kids as well. My son loves beeswax dipping! Don’t be intimidated to start; it’s really not as hard as you may think if you implement the tips above. Feel free to comment below with any questions or help troubleshooting!






Leave a Reply