
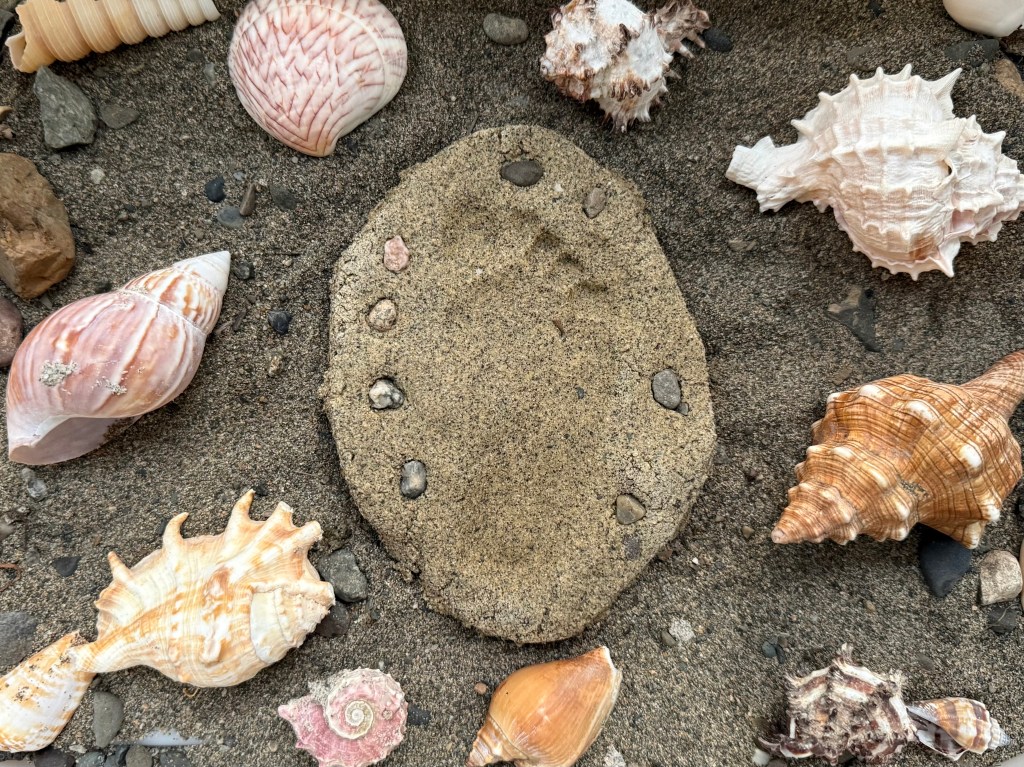
With the weather slowly cooling off in the Pacific North West, I’m reminded that Summer is coming to an end soon. I’m usually not a big fan of Summer time because I prefer the cooler weather, but now that I have kids, I’m reminded that every season I have with them is the last time they will be that age for that particular season. This has made me embrace each season, even the sweltering heat of my least favorite one, Summer, and make it a memorable one for all of us. Even though I did this more for my kids, it has actually made me enjoy Summer more too!
To make the most of Summer, I got us a book of activities and rhythms from Wondergarten. This is my first time using the curriculum since D wasn’t old enough before, and it has helped provide a structure for our time together at home. Since he’s only 3 and a half, we didn’t do every activity in the book, but I used it to provide a framework for our days and I chose the activities that I thought we’d enjoy doing together. Each week has a unique theme, and this past week was “beach week”. It had me taking the kids to the beach by myself for the first time, which I’ve never done before. I’m glad that I did because shortly after, the weather started to cool off and it wouldn’t have been as fun by the water. Now, I don’t know how soon I’ll take them to the beach on my own again, because N spent basically the entire time trying to eat sand (and succeeding half of the time to my dismay) which made it a bit difficult to enjoy the experience. But it did come along with fun memories like D searching for rocks in his sifter and N crawling around in the shallow water.
While we were at the beach, we collected sand and rocks for some activities. I looked like a bit of a crazy person with a measuring cup and a ziplock bag (a mom was indeed watching me skeptically but that seemed like a personal problem to me) to take home and D collected rocks since there aren’t shells at the beaches here.
Making sand handprints and footprints
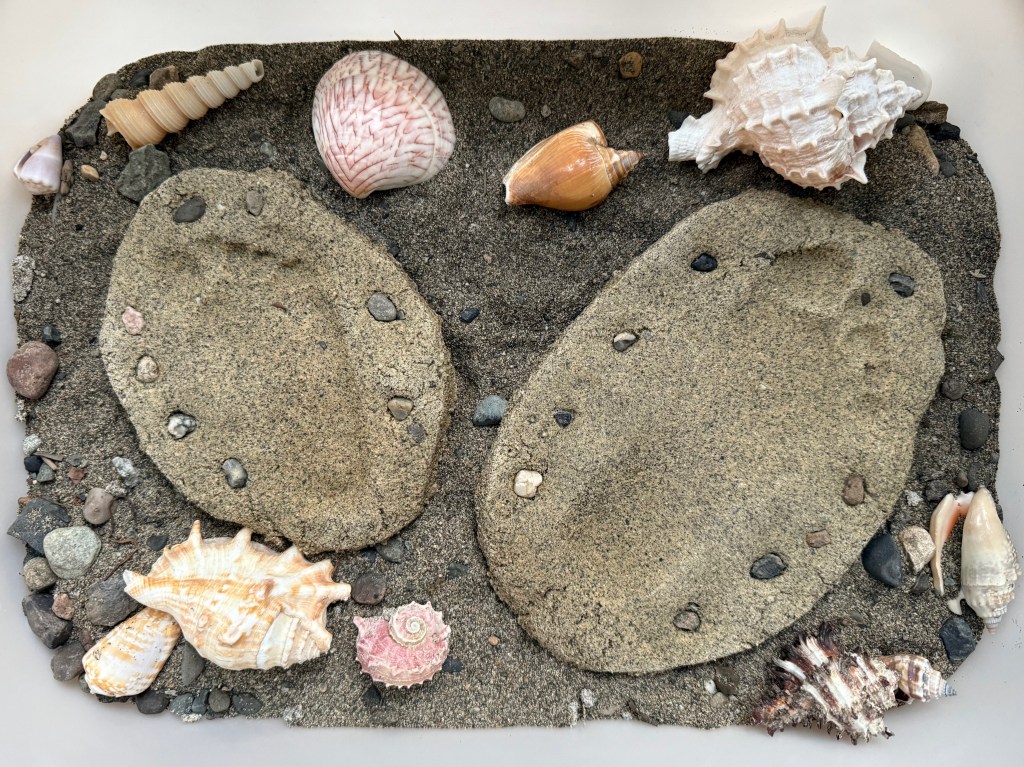
We used the Wondergarten recipe for this activity which makes a sand mixture that hardens when baked. Think of a bake-able Moon sand (technically Kinetic sand but I always think of that old infomercial for Moon Sand and I can’t call it anything else)! You press your child’s hand and/or foot into the sand mixture and it makes an adorable keepsake of summer. This is the last year their little footprints will be this size walking through the sand! Make sure you do this activity when you’re going to be home the rest of the day because it does have to slow bake in the oven for a few hours.
- Mix sand, flour, salt, and water. Once water is added, it may be helpful for parents to mix because it gets very thick and the texture may need to be adjusted, unless you have an older child.
- Roll the dough out until it is flat. This is a great way for your child to practice those motor skills! They can use a rolling pin or press down firmly with their hands.
- Push down your hand or foot in the mixture. Cut around the print to smooth edges. You can have your child do this depending on their age.
- Transfer to a baking sheet (carefully) and decorate with rocks or shells. You may want to roll it out into the baking sheets with aluminum foil to begin with if you don’t want to deal with transferring it.
- Bake it on a low heat for a few hours in the oven until it hardens.
Alternatives
If you do not have the Wondergarten curriculum, this activity can also be completed with Moon Sand/Kinetic Sand for a temporary print. If you want a hardening one, you can also do this with air dry clay and have your child paint it the color of sand!
Why I love this activity
Making sand hand prints was a multi step process that had D looking forward to the final result. It started off with a field trip to the beach which was a fun excursion in itself. My son loved collecting rocks for decorations and he thought it was funny having me scoop sand up at the beach.
Pouring the ingredients and mixing is a great life skill taught in Montessori and Waldorf. Kneading out the dough builds stronger motor skills. Children can practice being precise by tracing out a circle around their print. You can provide a thin outline for them to follow as a guide! Decorating allows them to practice creativity. After making them, you can display their art, which I always like to do, to show them that their work is meaningful and beautiful.
Troubleshooting sand prints
Since this was the first time I have done this activity, I had some trial and errors. These are some considerations for when you make your sand prints.
Texture
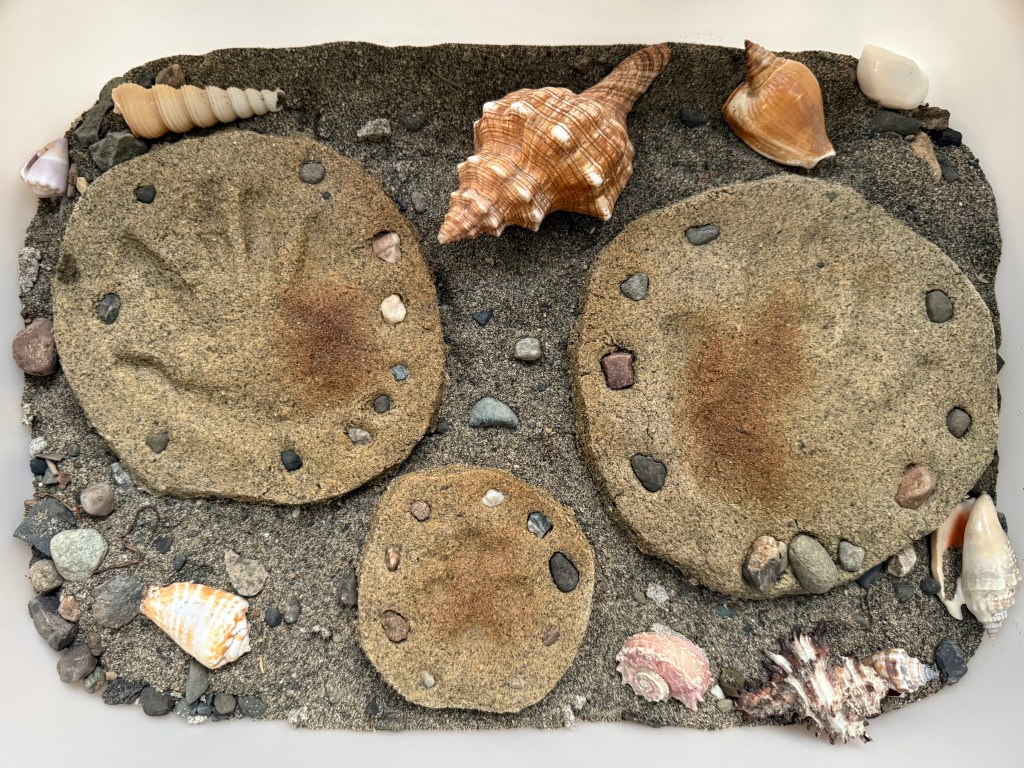
One of the issues that I had with making the sand prints was getting the right texture. This may depend on the type of sand that you have in your area or the sand that you buy at the store. I think I added too much flour because it was too sticky and then it was too dry after adding the flour and it was hard to push hands and feet into. I recommend slowly adding more flour if the consistency is too sticky and if it’s too thick, add some more water again because it’ll be way easier to get the prints that way.
Baking
As for baking time, aim for low and slow and make sure you check periodically. I baked mine for too long and a little too high because the prints on the top rack got a little crispy which I didn’t consider would happen.
Preparation
I would consider making the mixture in advance if it’s your first time because it gets very thick and getting the consistency right can take some time which can lead to toddlers losing interest. Instead, I’d suggest having them help with the kneading part after it is all mixed. I just wouldn’t make the mixture too far in advance because if you leave it out, it can form a bit of a hard crust on top, so if you do it a few hours ahead of time, it may be okay if you cover it with a damp paper towel or wrap it in plastic wrap.
Sensory sensitivities
If your child is sensitive to texture, be prepared for them to not like touching the mixture very much. You may want to make it slightly less sticky for them or try and introduce the mixture in a sensory activity by playing with it with tools before having them stick their hand in it. My son wasn’t a big fan of the texture for the prints, but really liked when he could explore it with tools and got more comfortable with it over time and then started to touch it more. By the end of the activity, he was squishing the sand and having a blast. Be sure to have an easy way to clean their hands afterwords in case it’s very sticky!
Montessori extension ideas
If you have extra sand, shells, and rocks, there are many different ways that you can continue beach week!
Shell Prints
If you have extra sand print mixture, you can use it to play with tools and shells. I bought a box of shells from the thrift store since we don’t have shells near me at the beach and D loved rolling the different shells in the sand mixture and squishing it in his hands.
Sensory Bin
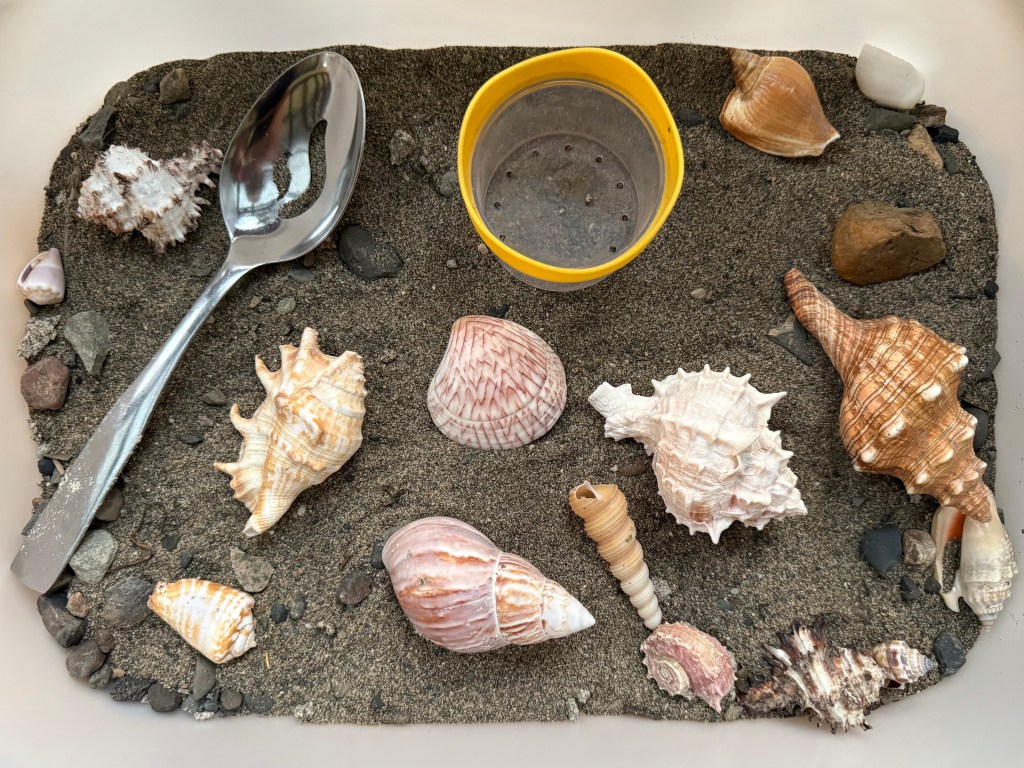
If you have extra plain sand, you can fill a bin with sand, rocks, and shells and have your toddler scoop out the different items. I added a large spoon, a cup with holes in the bottom, and a strainer. The shells were also a huge hit because D loved holding the different shells up to his ear to hear the ocean sounds!
Matching and Sorting
If you have shells, you can take a picture of each one and print them out. Then, have your toddler search for the shells in the sensory bin and place them on top of the cards to match them.
You can also create a chart with different textures and have your child categorize the shells by smooth, bumpy, etc.
Different size shells make different noises. Have your child listen to the different ones and describe which are louder and which are quieter!
Summary
Make the most out of the end of Summer! Making sand handprints and footprints are a great way to capture your child exactly the way they are this season. Bringing the beach to the house with sensory bins is a great way to extend the Summer fun without having to actually keep going to the beach, which is helpful if you want an easy go to activity or if it’s simply too hot.
It can be easy to look ahead to the next season and count the days down until the current season is over, but the time will pass whether you’re taking advantage of each day or not. Enjoy each season for what it has to offer, whether it’s for yourself or your children. Who knows, maybe you will find yourself enjoying it more than you thought you would (like someone I know *cough cough*)!






Leave a Reply